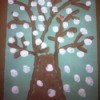
In many painting and craft projects, one finds themselves needing to make dots. I have used this idea for years and it hasn't failed me once! It's easy and inexpensive. No high tech tool needed.

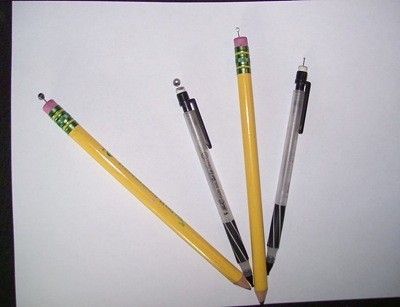
Take straight pins with different sized heads and some pencils with erasers. Snip half the shaft of pin off and push each into it's own eraser, leaving head of pin raised slightly above eraser. Done! Just dip pin head in paint and dot away. Wipe pin head off when done and when it gets old, just pull it out and replace with another.
You will get so good and fast at this, you will be able to do it with your eyes closed! Happy Dotting!
By maryeruth from Palm Coast, FL
If you've ever tried to spray paint into a hard to reach area without spraying everything around it, this tip offers a simple, yet effective way to handle the problem. Simply use an empty paper towel or toilet paper tube, depending on how far it needs to reach, and do your spraying through it.
I enjoy craft painting and I always need something to mix colors in. I normally use Styrofoam egg cartons. I started saving Buddy's dog food containers and and the other day hubby needed some brown/tan paint to repaint a dog statue that was left for the path garden.

When it is time to paint get out your empty egg carton! When using the inexpensive small bottles of paint from the craft stores you can squeeze small amounts of different colors into each egg section.
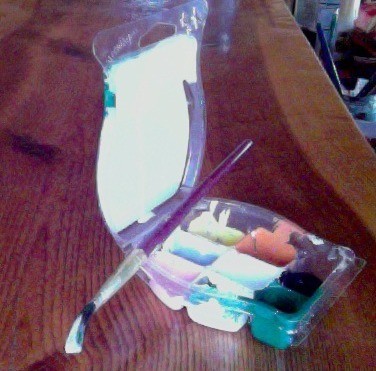
After using wax for my warmers, I don't throw the plastic away. I use it for paint compartments for small projects. The lid snaps and keeps my paint fresh.
I recently started going to art therapy for PTSD. I've learned that I love to paint. I highly recommend painting for everyone!

Could anyone tell me how to soften water based paint in artist tubes please?
You can add a tiny bit of water IF the ACRYLIC paints are not fully dried up and you must stir a lot. IF they are, then it is best to toss them into the garbage as they will clump and be grainy to paint with. Apparently, it is the ingredient in water based paints that dries up and becomes almost plastic like and it's never the same. I keep my acrylic paints in an airtight popcorn tin when not in use. Another suggestion I read was to use a dropper to remove a little paint at a time from the bottle and reseal quickly and that any specks of dried paint around the cap can cause paint to dry up quicker. Keep them wiped off well for that reason.
I saw someone at a craft fair painting with chocolate. Can anyone tell me the ingredients and consistency to use?
By Isobel Gregory from Scotland
Here is a detailed instruction on it. I would like to try this myself sometime, maybe this winter when the snow is flying.
eyecandy.nanakaze.net/
My retirement job for the last 6 yrs has been helping a friend in her busy season at her chocolate business. I actually do a lot of the painting. It is very easy. You need the basics of white and either milk or dark chocolate but depending on what you want to paint, you will likely need more white than 'brown'. We use small porcelain containers but baby food jars work well to hold the various colours as well. An electric fry pan or even a heat stone will work to keep the chocolate sufficiently melted to paint. A very small amount of cocoa butter (available at most bulk stores) to keep the 'paint' thin, and cocktail swizzel sticks or a tool to suit the size of your project, even a spoon works for large areas, to paint with. Toothpicks work but are way more tedious. You will need some for the very fine bits though!
As for colour, never, ever use liquid with chocolate. You can use either the powder or gel colouring that you can buy for cake icing. Simply melt your basic chocolate (we use wafers) either in a microwave, very little time, or in a hot water bath. Add a bit of the colour agent and stir, adding until you get the colour you want. If it is too thick but still warm, add a pinch of cocoa butter to thin it out. Do not let chocolate "cook". If you are using molds, simply colour in reverse, starting with the first layer of the mold and work out. Let each colour dry before adding the next. (Takes about 5 min. putting in the fridge speeds up the process.)
Colours can be kept for quite a while, just let the container harden, then re-melt the next time you want that colour. The secret is to keep the 'paint' warm and thin enough to work with but not so thin that it runs. Trial and error will be your best guide but it is not difficult at all. Have fun!
I have gray craft paint I would like to make black. Will hair color work for this?
I would mix like kinds of paint. I would get craft paint for this
Not a good idea. When I first started painting and trying to be frugal in the 1980s I tried several things that all had bad results:
1. Mixing food coloring with craft paints (they faded within weeks).
2. Mixing house paint and craft paints (I had a gloppy mess on my hands)
3. Mixing rit dye with craft paints (it was powder and water and it was awful.
4. Mixing liquid shoe polish with paint (just NO--very runny and goopy)
I decided then it was not a good idea to mix things that were not likes. Now, you can mix different brands of the same craft paint--like oils with oils and acrylics with acrylics.
To get gray to be black, you would be best off just buying black. You will use it for everything if you are going to paint. I loved mixing it with my lighter colors to get interesting blends. My staples were the primary colors--well worth it if you are going to paint something special!
Blessings!!
Try to keep with the same type of medium. If you try things like hair dye, it will separate over time and not bode over well. Try to get a plain black paint.
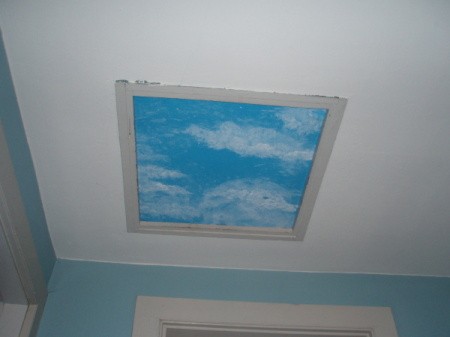
Our over 200 year old home has a square opening in the attic that was obvious. I changed it into a skylight with paint!
When I have a quick need to do a small paint job I use plastic bags for gloves. When finished I throwh them out.