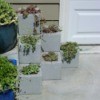
 It's not pottery! It's called Hypertufa. You mix together a few 'ingredients' to create any size or shape pot you'd like! I can imagine these as totally unique gifts or even items to sell. Lots of fun too!
Total Time: Moments to mix but it must CURE a few weeks.
Source: Penn State Extension Service taught a class
Supplies:
- sifted peat moss, perlite
- Portland cement
- container for mixing
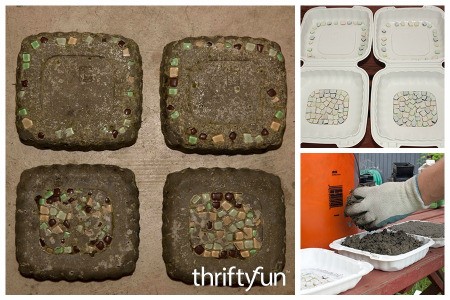
- some type of mold to use to form hypertufa pot (I used an empty rotisserie chicken container for one, a bowl and a small dish
- a plastic grocery bag OR cooking spray to release mold from pot
- rubber gloves, dust mask, eye protection
- work clothes
Steps:
- Wear dust mask, rubber gloves, and old clothes.
- Mix 3 parts perlite (peat moss) and 3 parts peat until completely mixed. Use hands or trowel.
- Slowly mix in 2 parts Portland cement until you can't see any peat particles. Cement is like powder so it will get airborne if you don't do it slowly and so DO IT SLOWLY. Mixture will get fluffy.
- Add a small amount of water at a time. Add water slowly and mix before adding more. Consistancy is important and you should be able to form a ball that will hold it's shape when tossed between your hands. If too wet, it will flatten into a pancake if you bounce your hand up and down.
- If too dry, the ball will crumble apart.
- Too much water will affect the curing process and the strength of the pot.
- Either spray the pot mold or line it with a plastic bag and fill the container with your mix.
- TAMP DOWN (compress it) to the inside of the mold..that will be the outside of your pot. The "more" you compress the stronger the pot will be! Some use their fist, a back of a spoon or bigger dowel to tamp it down.
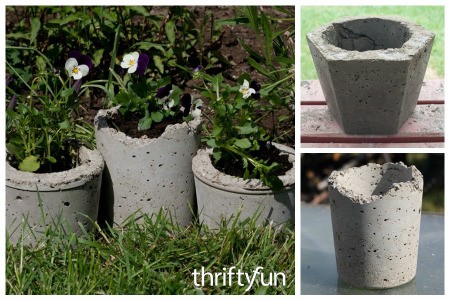
- Continue to manipulate the mixture from the center of the mold up along the sides evenly, toward the top of your mold. Try to make it a consistent thickness with your hands. The bottom and sides should be about 1" thick. Almost like making a pie crust!
- Smooth the top edge of the pot.
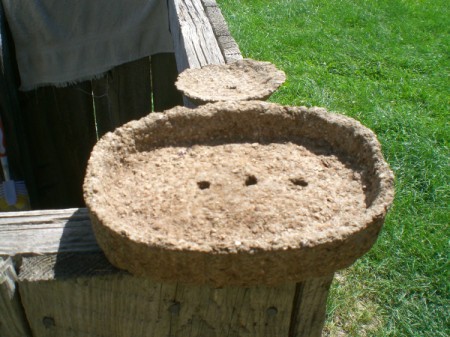
- Make a few drainage holes in the bottom of the mixture with a dowel or pencils if you intend to use them for plantings.
- After you have molded your pot into the mold, bring the plastic up and into the center of the pot. You may place the entire pot into another plastic bag. You leave the pot to "cure"...55 degrees is the ideal curing temperature but just keeping it moist and out of the sun is good too.
- After 24 hours, unwrap the pot and un-mold it. The pot will still be fragile. Clean up the top edge and gently rub out any imperfections. You may use a soft brush, piece of cloth, or your gloved hand. Put the pot back in a plastic bag and let sit for 3 weeks, lightly spritzing it with water every few days for slow curing. The longer you let it cure, the harder the pot will be.
- Place outside in the shade where rain can dissolve any free lime particles from the cement or hose it for 3 days. Once dry its ready to plant!
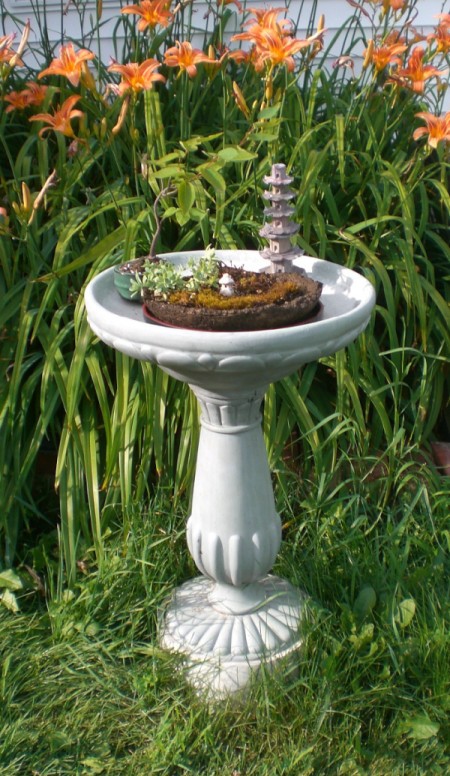
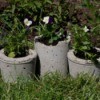
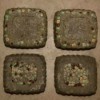
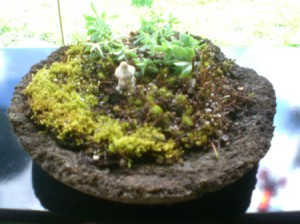
- Hypertufa pots are very porous (they don't leak water though). Rock gardens, succulents, and moss look great in them! I created a few different looks and I intentionally made one that was rough and rustic. I love my Zen Garden.
- Enjoy!