Ann Winberg Silver Post Medal for All Time! 306 Posts
May 3, 2010
With spring here, what better way to celebrate it than with a new house, for the birds that is.
Approximate Time: 2 hours
Supplies:
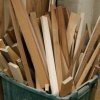
3/8 inch wood scraps
Advertisement
1/2inch wood screws
jigsaw
sandpaper
paint or stain
Instructions:
With spring here and the birds returning it is time for birdhouses and feeders. This pattern will use up those scraps of lumber you may have and provide a home for a bird family at the same time. If you use treated wood you won't need to stain or paint the wood.
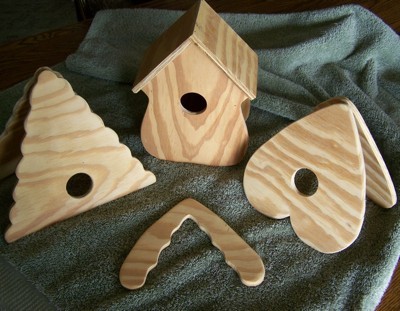
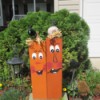
You are welcome to use my pattern or design your own. Any shape will work, animal, square, oval, or whatever you want; this shape will be the front and back of your birdhouse. Just draw it out and trace onto your wood scrap.
Cut two of this shape.
Drill a hole fitting to the size of bird you are trying to attract most of the time a 1/4 inch or 1/2 inch hole works well.
Measure the longest length you can get for the sides of your house and the bottom and still stay inside your shape. This will be your "house" so make sure it is large enough at the bottom to allow birds to make their nest. It doesn't have to be a square; it could be a triangle, what ever fits inside your shape. This is something you need to consider when you design your front and back shape.
Advertisement
After you get the two side walls and bottom of your "house" figured out cut them out by the paper pattern you just made. Remember to take into allowance the overlap on the ends.
Using your screws assemble the house, and then attach the front and back pieces. If you want to make you house so it can be cleaned out instead of screwing the back or bottom to the house, use a hinge.
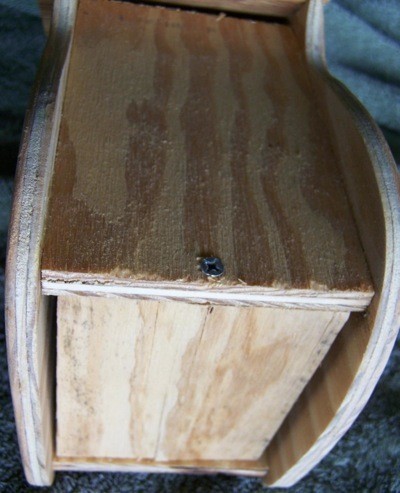
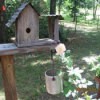
Now you need to cut two shapes for your roof. If your front and back have straight edges you can attach your roof to the front and back shapes leaving a space open for air ventilation above the sides. This is a very good thing to do if possible. Just cut the side walls an inch shorter than the height of the front and back. You can see in the second photo that the floor is narrower than the sides, that is for ventilation.
Advertisement
The L shaped piece in the photo is a sample of trim for your roof line. All you have to do is trace the top design of your front piece and cut a narrow piece, attach it over the top of the front.
Attach an eye screw to the top and hang where you can watch the birds build their nest.