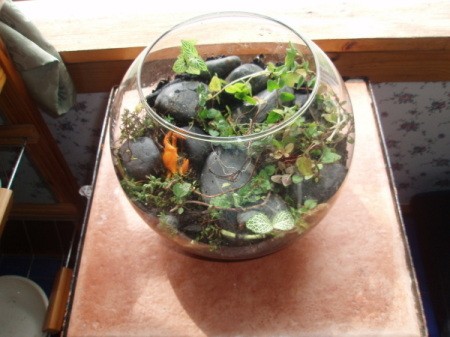
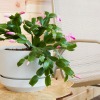
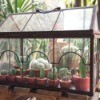
I wanted to make a terrarium from an old fish bowl but couldn't find inexpensive, small leafed plants. I realized that my herbs growing outside would not only look great but I could keep and use them all winter if I planted them in the bowl.
15mhhm15 Diamond Post Medal for All Time! 1,298 Posts
July 21, 2019
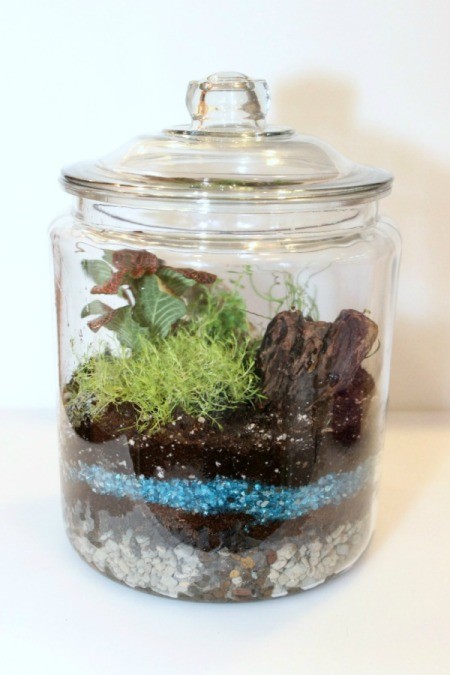
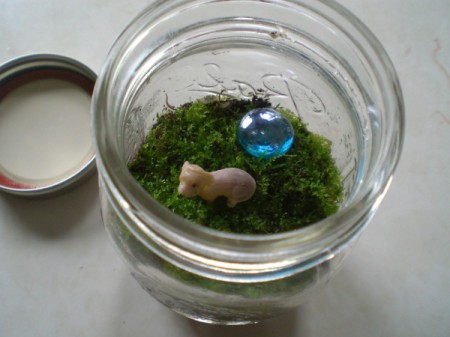
Here are my step by step instructions on how to make a plant terrarium with no drainage. Plant terrariums with no drainage require little maintenance - you only need to water every 2 to 3 weeks, or when needed.
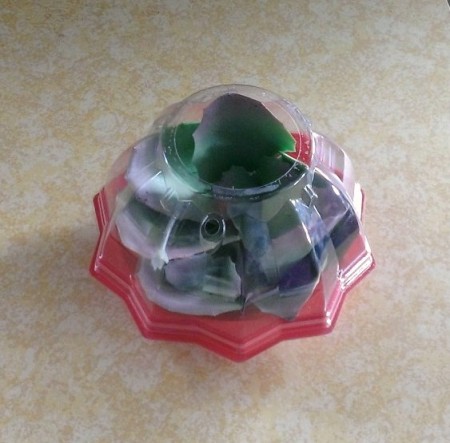
When a friend got some cherry tomatoes, it hit me this container looked like the mini terrariums from the 70s. All sorts of things came to mind, but I can't grow anything but mold so the next best thing was a faux terrarium. I was at the dollar store and saw these cacti and thought how cute that would be.
Does anyone have any soda bottle terrarium directions for me? I am not sure if I am in zone 5 or 6.
Hardiness Zone: 5b
Dawn from Elmira, NY
Advertisement
Answer:
Dawn,
Here are some simple directions for a soda bottle terrarium.
Supplies
One 2 or 3 liter clear plastic soda bottle (needs to have a colored base).
Scissors, craft knife and a teaspoon
Charcoal
Coffee filter
Potting Soil
Suitable small plants
Assorted rocks or figures
Moss
Directions
Remove the label and the colored base from the plastic bottle by soaking the bottle in hot, soapy water.
The clear portion of the bottom is made of a thicker plastic than the top. Use the tip of a craft knife to punch 5-6 holes around the bottom to create some ventilation. You're going to flip this over so it becomes the top.
Now, using a craft knife or scissors, cut off the top of the plastic bottle at the point where it starts to slope toward the top. Flip this over. This end is now the bottom and should now slide easily into the colored base.
If the colored end has holes in it, place a coffee filter in the bottom to prevent soil from leaking out the holes.
Place a 1/4 or 1/2 inch layer of horticultural charcoal in the colored base, followed by 1 to 2 inches of high quality potting soil so that it comes to 1/2 inch below the bottom's rim.
Advertisement
Add 2-3 small plants or cuttings. The plants should have similar growing requirements. Some good plants include Aluminum Plant, Ivy or Baby Tears.
Add decorative figures and rocks as desired.
Water the terrarium lightly. The soil should be barely moist, but not wet. Cover the soil with moss.
Slip the clear plastic top back onto the base until it's firmly seated in place.
Keep an eye on the terrarium for a few days. Water droplets should form. If they don't, add a bit more water. If too many form, open the top of the terrarium temporarily to let it dry out a bit.
Just type in kidsdomain terrarium on yahoo search.and you will find instructions. Oh ,by the way i made a hanging plant bottle just buy cutting holes on the one side so the plant can hang out and down almost to the floor if you wish.
Advertisement
I just poked a hole in the cap tied a plastic bead to the inside end and screwed in a plastic plant hanger in the ceiling joist. it still hangs in my bedroom by the window (10 years now) The old plant died from my neglect a few years ago. Your message has encouraged me to start a new one Thank You Mr Thrifty
I remember making terrariums like that which Ellen described above when I was a kid! They're a lot of fun. The only problem might be that I think they stopped making two-liter bottles with those colored plastic bases a long time ago - all the soda bottles I've seen for years now have been all one piece.
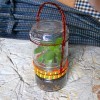
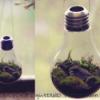
If you have a desire to carry your favorite plant with you, then this portable terrarium is for you. I have come up with a very convenient and easy-to-make terrarium. All you need are two jars with lids and wire. I used copper wire from an old transformer.
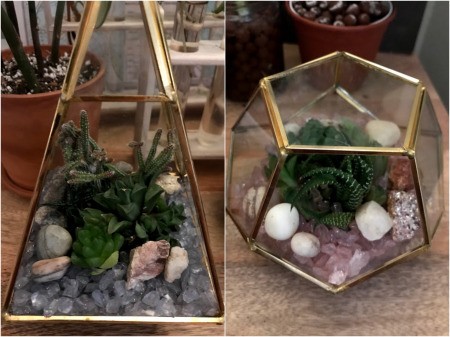
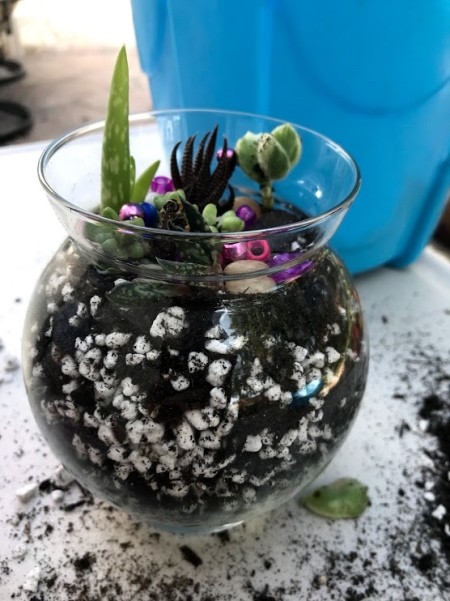
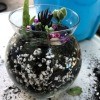
This kid friendly succulent terrarium incorporates your child's rock and shell collection into the planting. Add some colorful plastic beads too. Check out the full project below.