My daughter needed to make a musical instrument for her 7th grade science class that had at least 4 notes. I remembered that she had made a neat little thumb piano years ago at a craft fair. She made a new one and it is perfect!
Advertisement
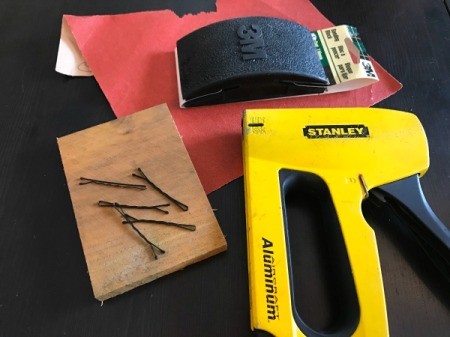
Supplies:
scrap wood (approx. 3.5 x 5 in)
5 bobby pins
staple gun
hammer
sand paper
markers
Steps:
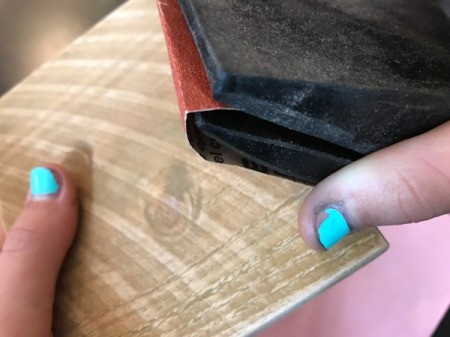
Cut a piece of wood to the correct size. Then sand it to smooth out the surface and edges.
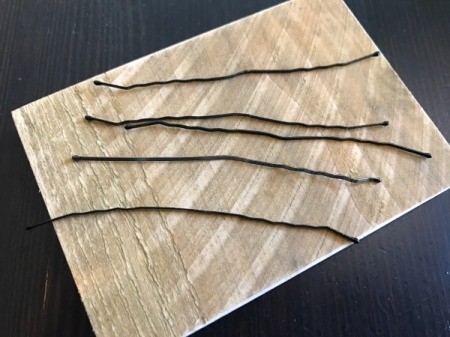
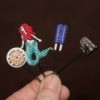
Straighten out the bobby pins, as shown below.
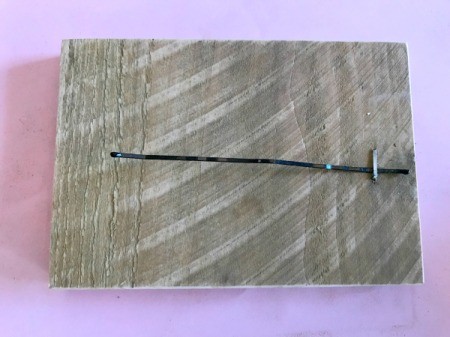
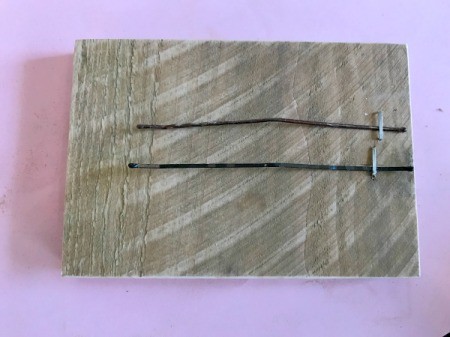
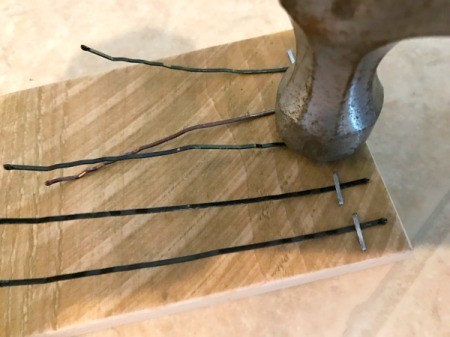
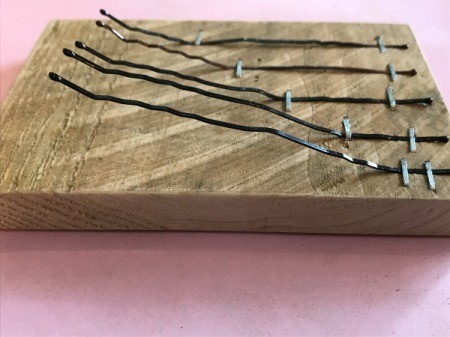
Staple each of the bobby pins to the wood, near the edge of the wood.
Use a hammer to tap the staples tightly over the bobby pins.
Advertisement
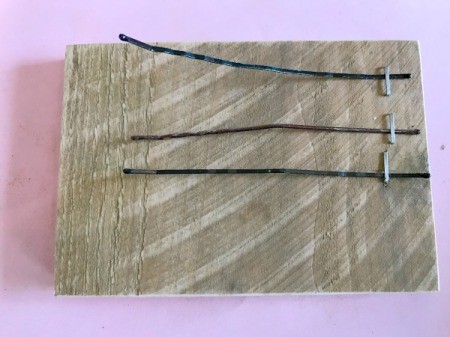
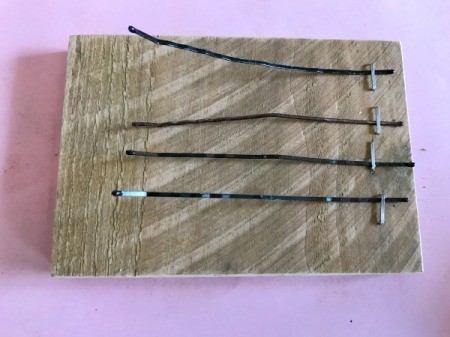
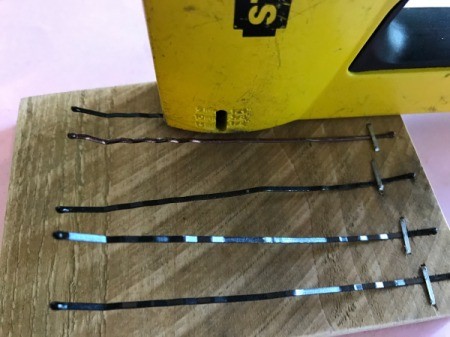
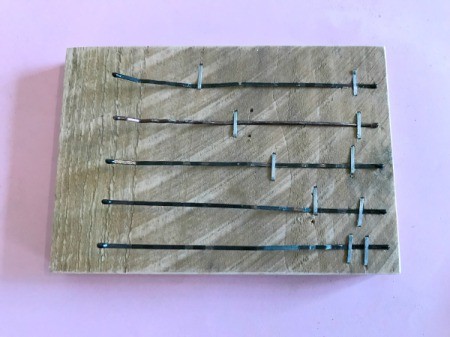
Then staple each bobby pin down a second time, with the first one being pretty close to the other end and the last one being farthest from the end, as shown below. Again, hammer the staples down.
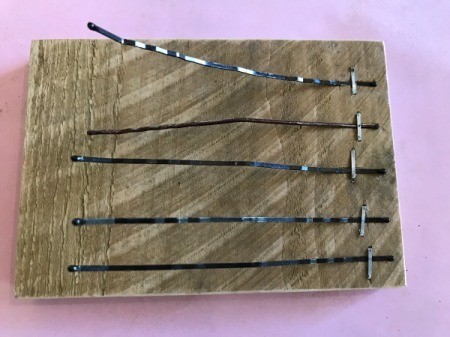
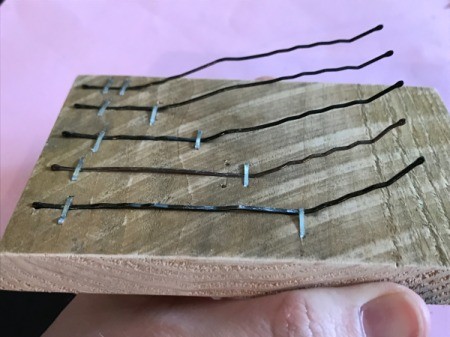
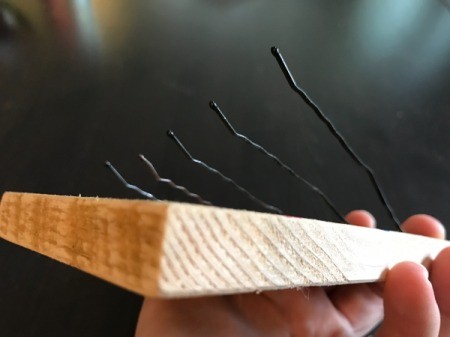
Then bend up the ends of each bobby pin at the staple.
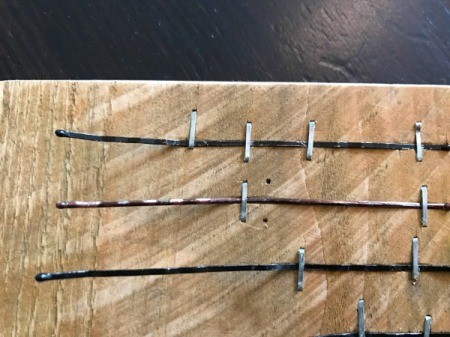
Now test out each note. She found the shortest one to be too twangy, so we added a few staples in the middle to hold the bobby pin down better.
Advertisement
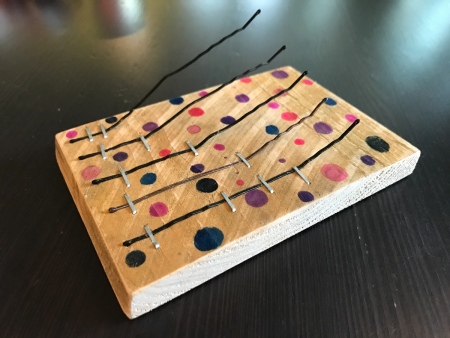
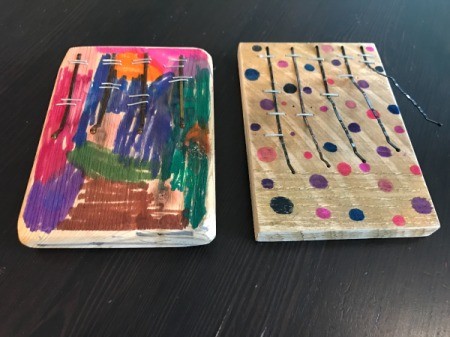
Use markers to decorate and enjoy your new instrument. Note: Here is a photo of the one she made when she was 5 and the one she made today. :)
 My daughter needed to make a musical instrument for her 7th grade science class that had at least 4 notes. I remembered that she had made a neat little thumb piano years ago at a craft fair. She made a new one and it is perfect!