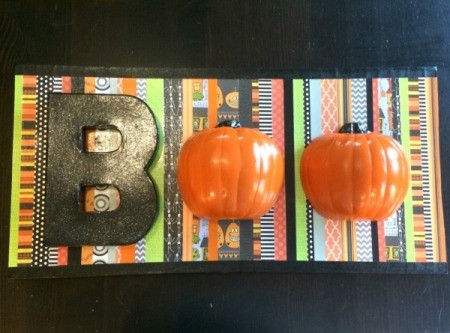
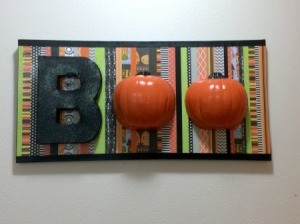
Get ready for Halloween with this awesome 3-D sign! It was a great way to use all of those cool Halloween scrapbooking papers that I keep buying with no project in mind.
Advertisement
Supplies:
small foam pumpkin
paper mache letter "B"
stretched canvas
Halloween scrapbooking paper
Modge Podge
glossy black acrylic paint
glossy orange acrylic paint
glitter paint, optional
E6000 glue
knife or small saw
scissors
paint brushes
decorative tape, optional
crafting knife
cutting mat
Steps:
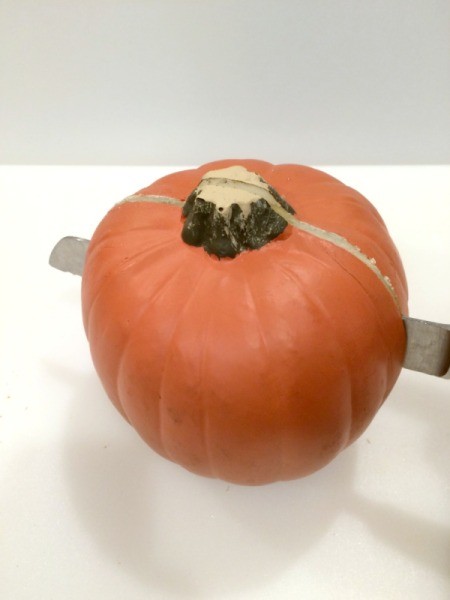
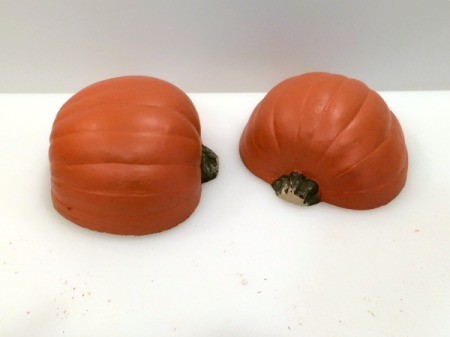
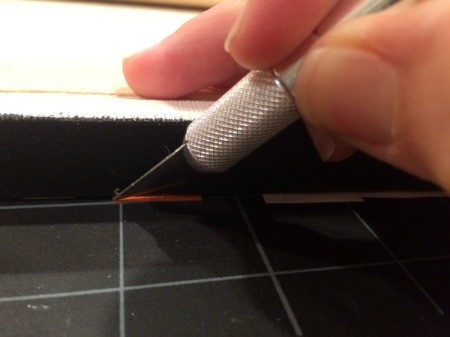
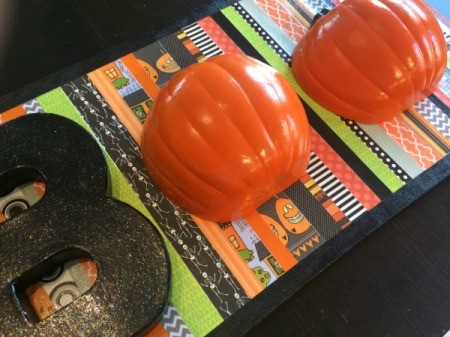
Use a sharp knife or small saw to cut the pumpkin in half. Note: In the event that a piece comes off while cutting, simply glue it back in place (as shown below).
Paint the pumpkin orange and the stem black (or brown if you prefer). Apply as many coats as needed.
Paint the letter B black, applying 2-3 coats. I also applied a coat of glitter paint.
Advertisement
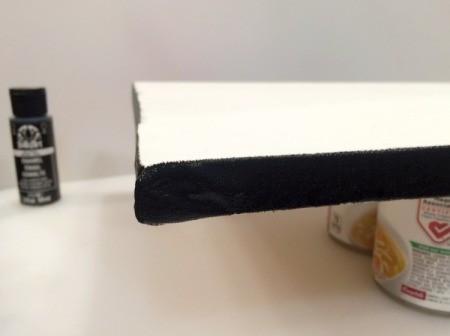
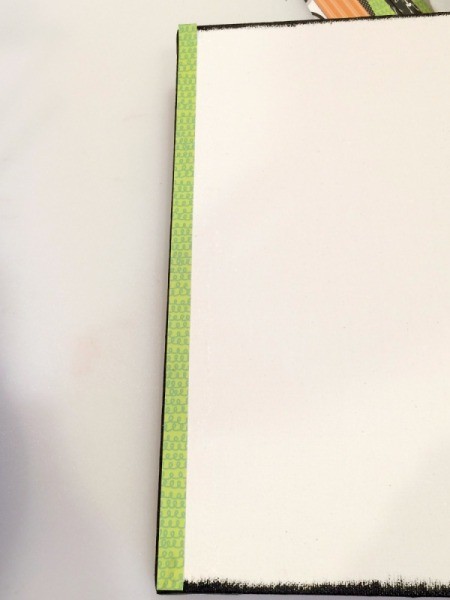
Paint the edge of the canvas black. Make sure to come up over the edge a little bit, so that the white of the canvas doesn't show when the paper is trimmed.
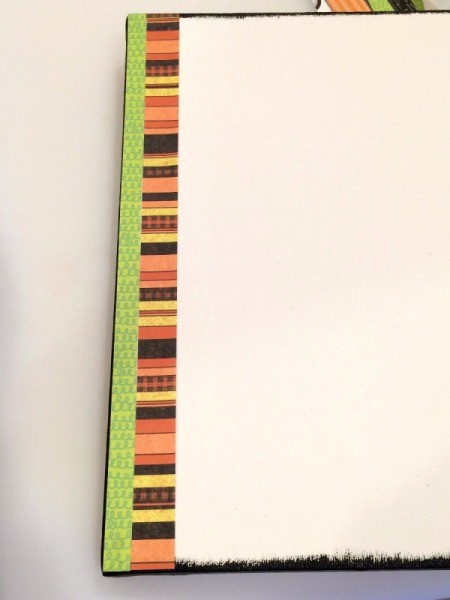
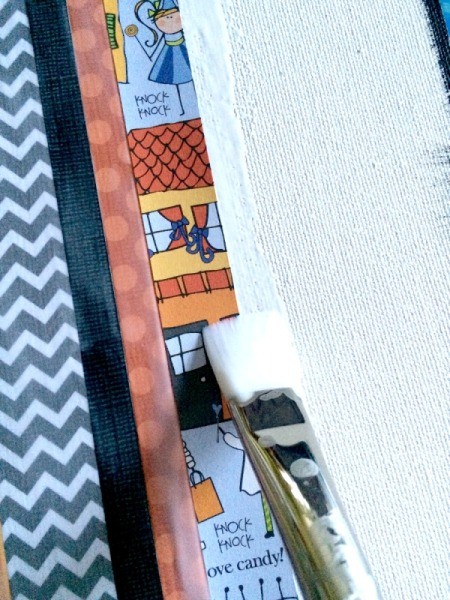
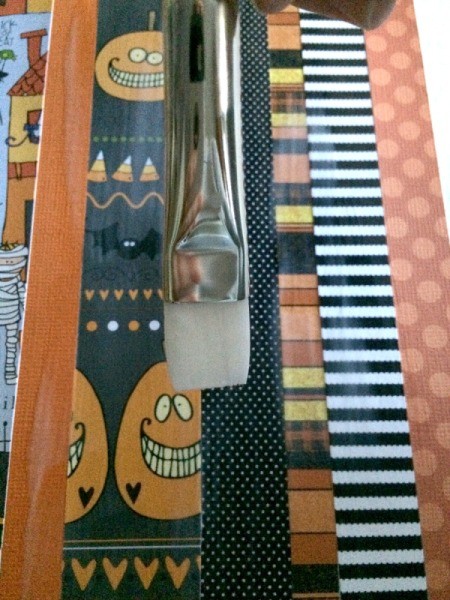
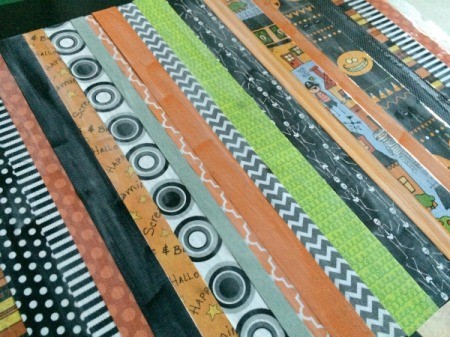
Cut the Halloween paper into varying width strips. Arrange them into a pattern you like. I recommend leaving the paper longer than the canvas, you will trim it off later.
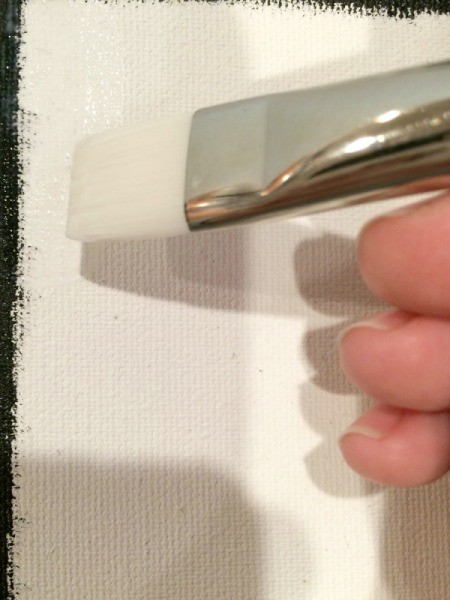
Use a brush to apply Modge Podge to the canvas and begin attaching the strips of paper.
Advertisement
I found that applying a coat of Modge Podge to the tops of the paper strips, while I was also attaching new strips was helpful to hold them down. Then apply 2-3 coats of Modge Podge to the whole surface, following package instructions. Allow Modge Podge to dry thoroughly before continuing with the next steps.
Turn the canvas over and use a crafting knife to trim off the overhanging paper. I decided to add a stripe of decorative tape along the top and bottom. Then I added one more layer of Modge Podge.
Advertisement
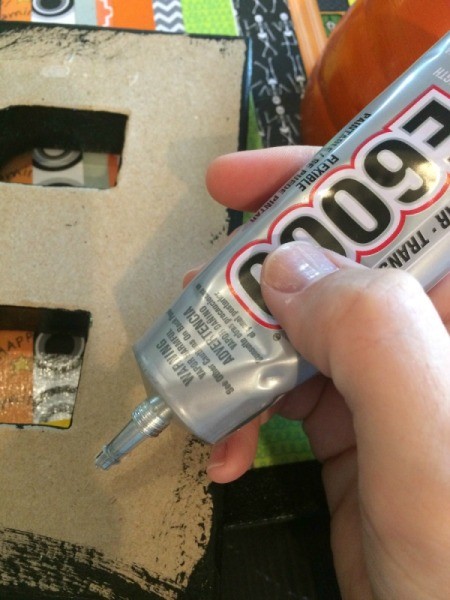
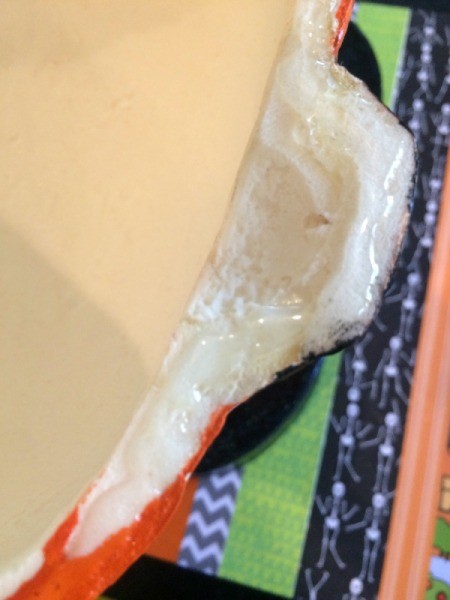
Apply E6000 glue to the backs of the letter B and the pumpkin halves. Adhere them to the canvas. Allow the glue to thoroughly dry before hanging it up.
 Get ready for Halloween with this awesome 3-D sign! It was a great way to use all of those cool Halloween scrapbooking papers that I keep buying with no project in mind.